Use of Generative AI — Sample react computer vision app
Use of Generative AI — Sample react computer vision app
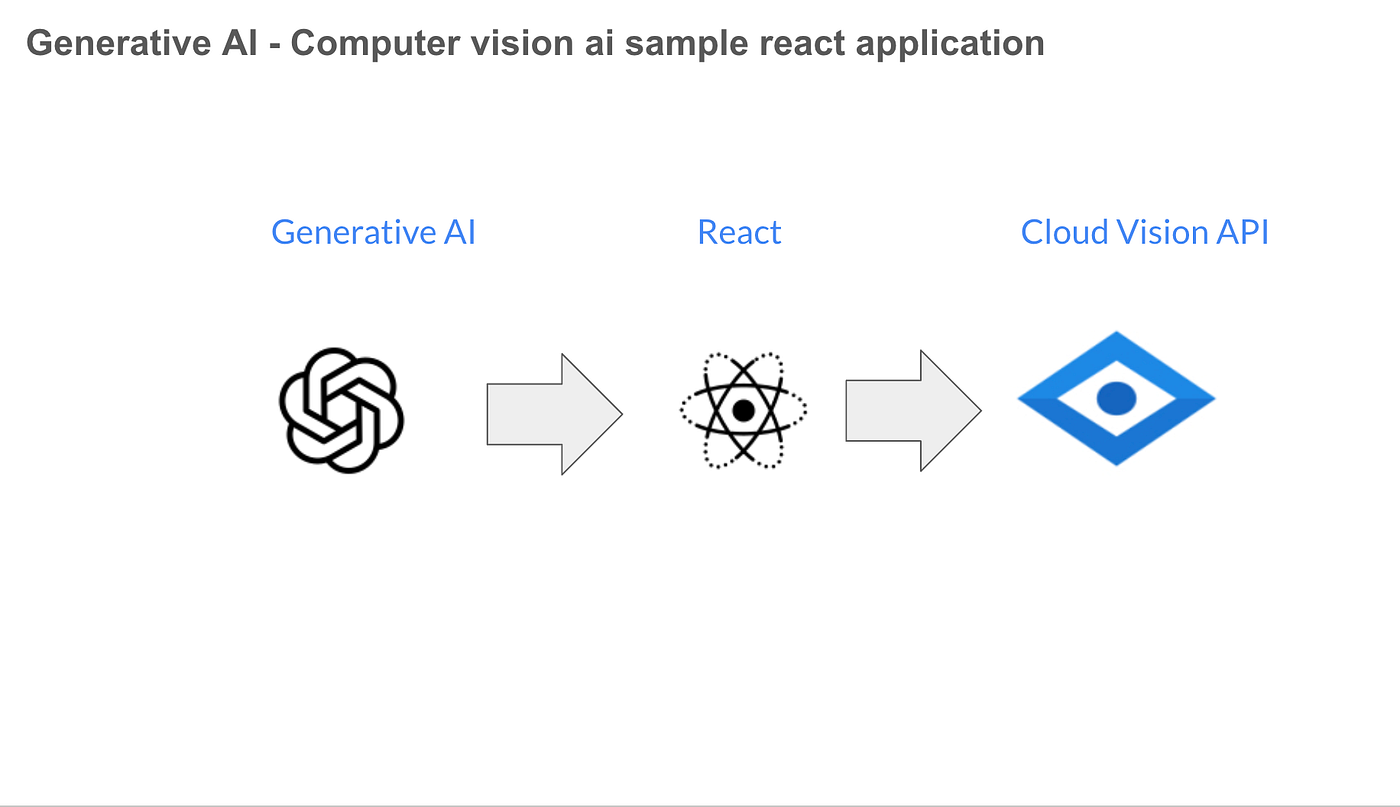
It’s been a long time since I have posted on Medium. Thanks for following.
In this post, let's explore and understand how to leverage generative AI for software development. There are many powerful LLMs — Google Gemini, ChatGPT, Llama, Calude etc…. These models can handle complex prompts and understand user context. Here I would like to demonstrate — How easy to ideate, develop and experiment.
Step 1: Identify the requirements
A simple React app where a user uploads an image for analysis. For image analysis, we need Computer Vision Artificial Intelligence. Google Cloud Vision provides this Software as a service. Here is my tech stack:
- React JS— For front-end development
- MUI — Google material UI for styling
- Computer Vision — Google Cloud Vision API
Step 2: Prepare the Generative AI prompt
Make sure the prompt is descriptive enough. Below is the sample prompt for the above requirement
Generate a simple react project with the following requirements:
- Web page for a user to upload an image
- Use google mui theme for styling
- The image is passed for google computer vision api to identify the entities
- Have a header for logo
- Have a footer section for copyright information
Give me the directions on how to securely store the google vision api key in the project.
Step 3: Experiment with the result
Download the cursor AI code editor. The cursor AI editor is similar to the GitHub Copilot, and Google Cloud Code Assist services. This AI editor makes you more productive and unblocks you in development. The prompt responses contain all the instructions.
Step 3.a: Get the Google Cloud Vision API Key
- Create a Google Cloud account and navigate to Cloud Vision API
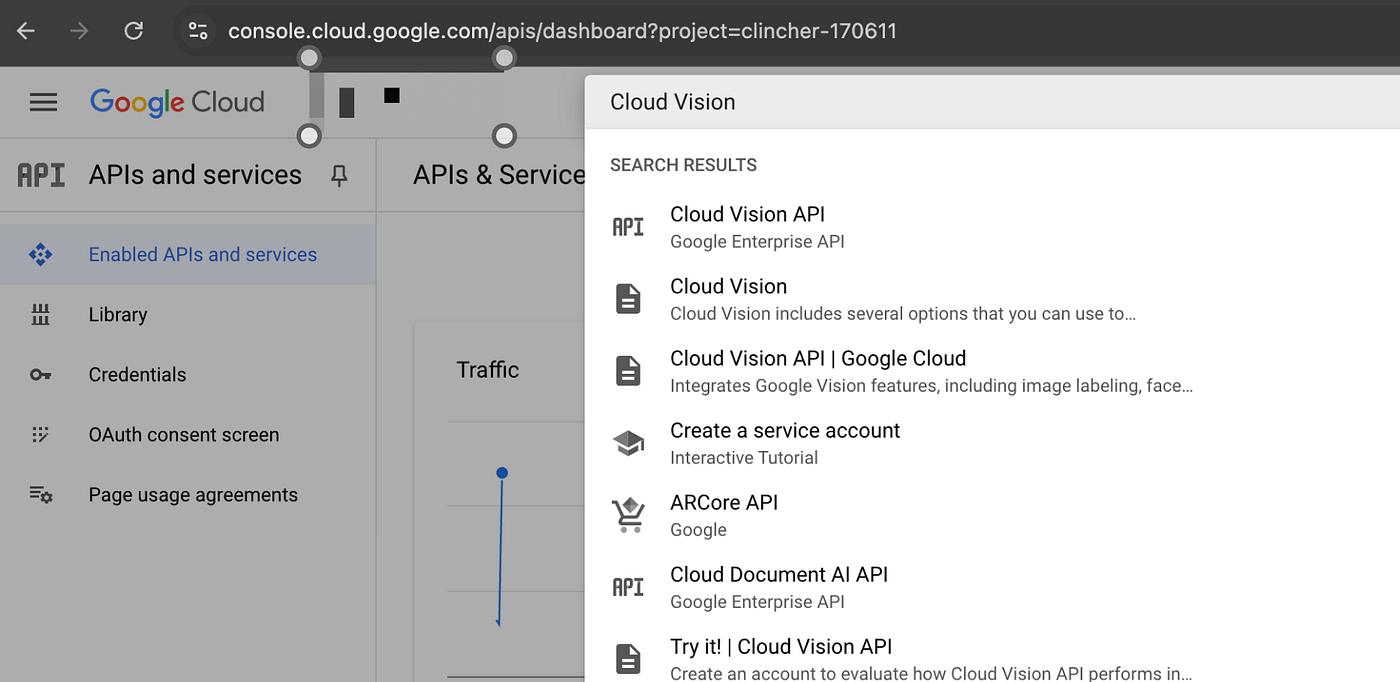
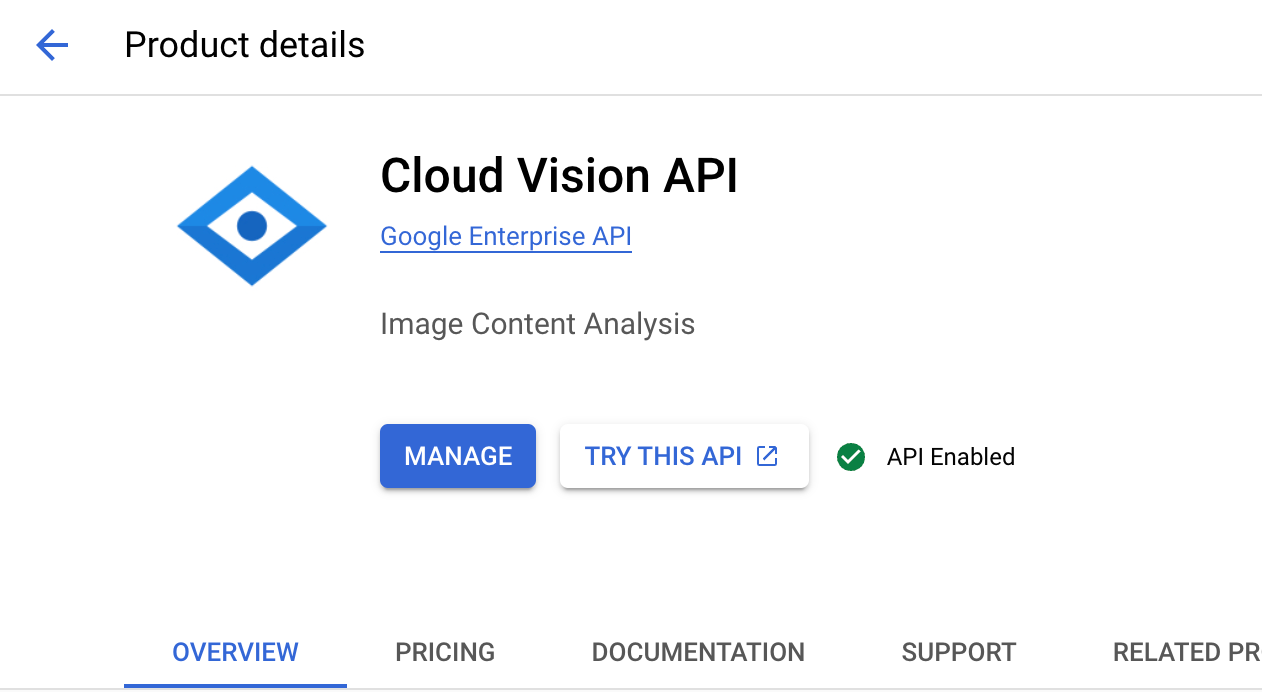
- Enable this API
- Create a new API Key to access this Cloud Vision API
Navigate to the Credentials page and create a new API key
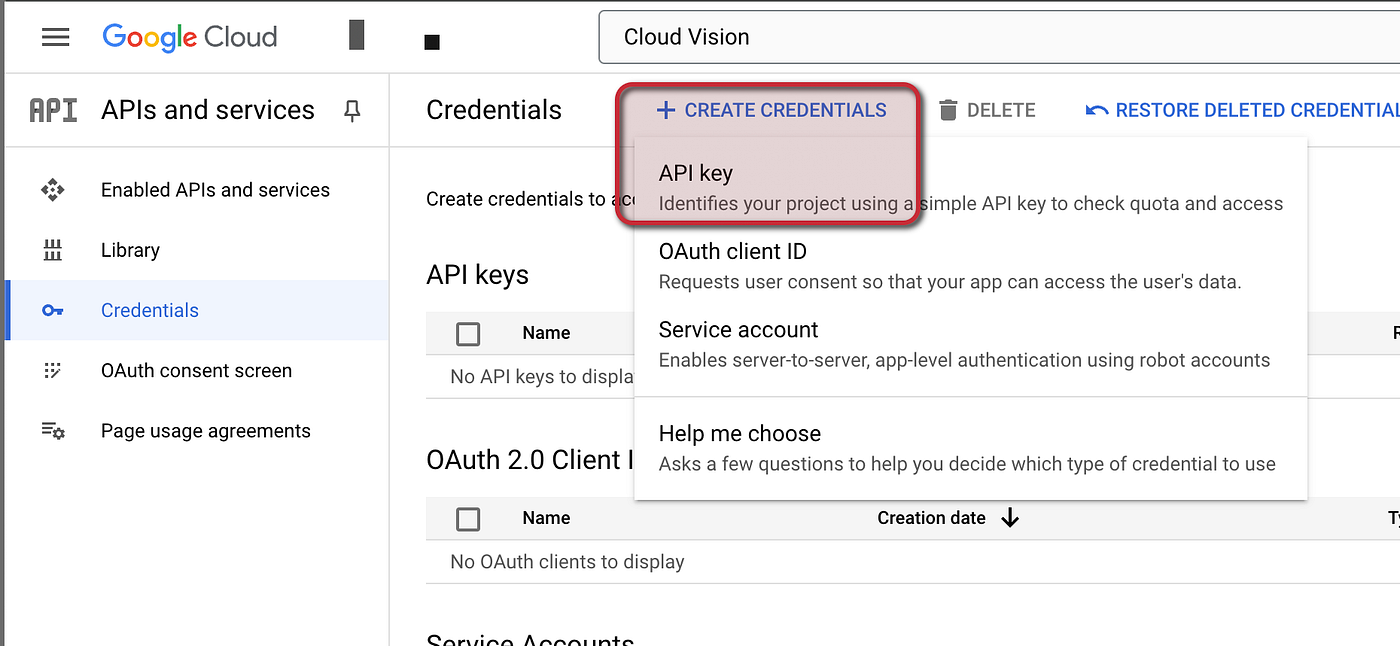
Copy the API Key and paste it into your react app env file

Follow the instructions step by step.
I am not an expert in the front-end development. However, I would like to highlight the below issues.
Issue #1: Faced 401 — Authorization error
I got the sample code — passing the API key as the authorization header. Make sure the API Key is passed as the Query parameter.
Sample code
const response = await axios.post(
  `https://vision.googleapis.com/v1/images:annotate?key=${apiKey}`,
  requestBody,
  {
    headers: {
      'Content-Type': 'application/json'
    }
  }
);
Issue #2: Display the API results
Sample code doesn’t contain how to show the API results data. Below is the sample code to display the results.
      <h3>Analysis Results</h3>
      {analysisResults.responses[0].labelAnnotations && (
        <div\>
          <h4\>Labels:</h4\>
          <ul\>
            {analysisResults.responses[0].labelAnnotations.map((label, index) => (
              <li key\={index}\>
                {label.description} ({Math.round(label.score * 100)}%
                confidence)
              </li\>
            ))}
          </ul\>
        </div\>
Finally, the outcome. On click of Analyze button the results are displayed.
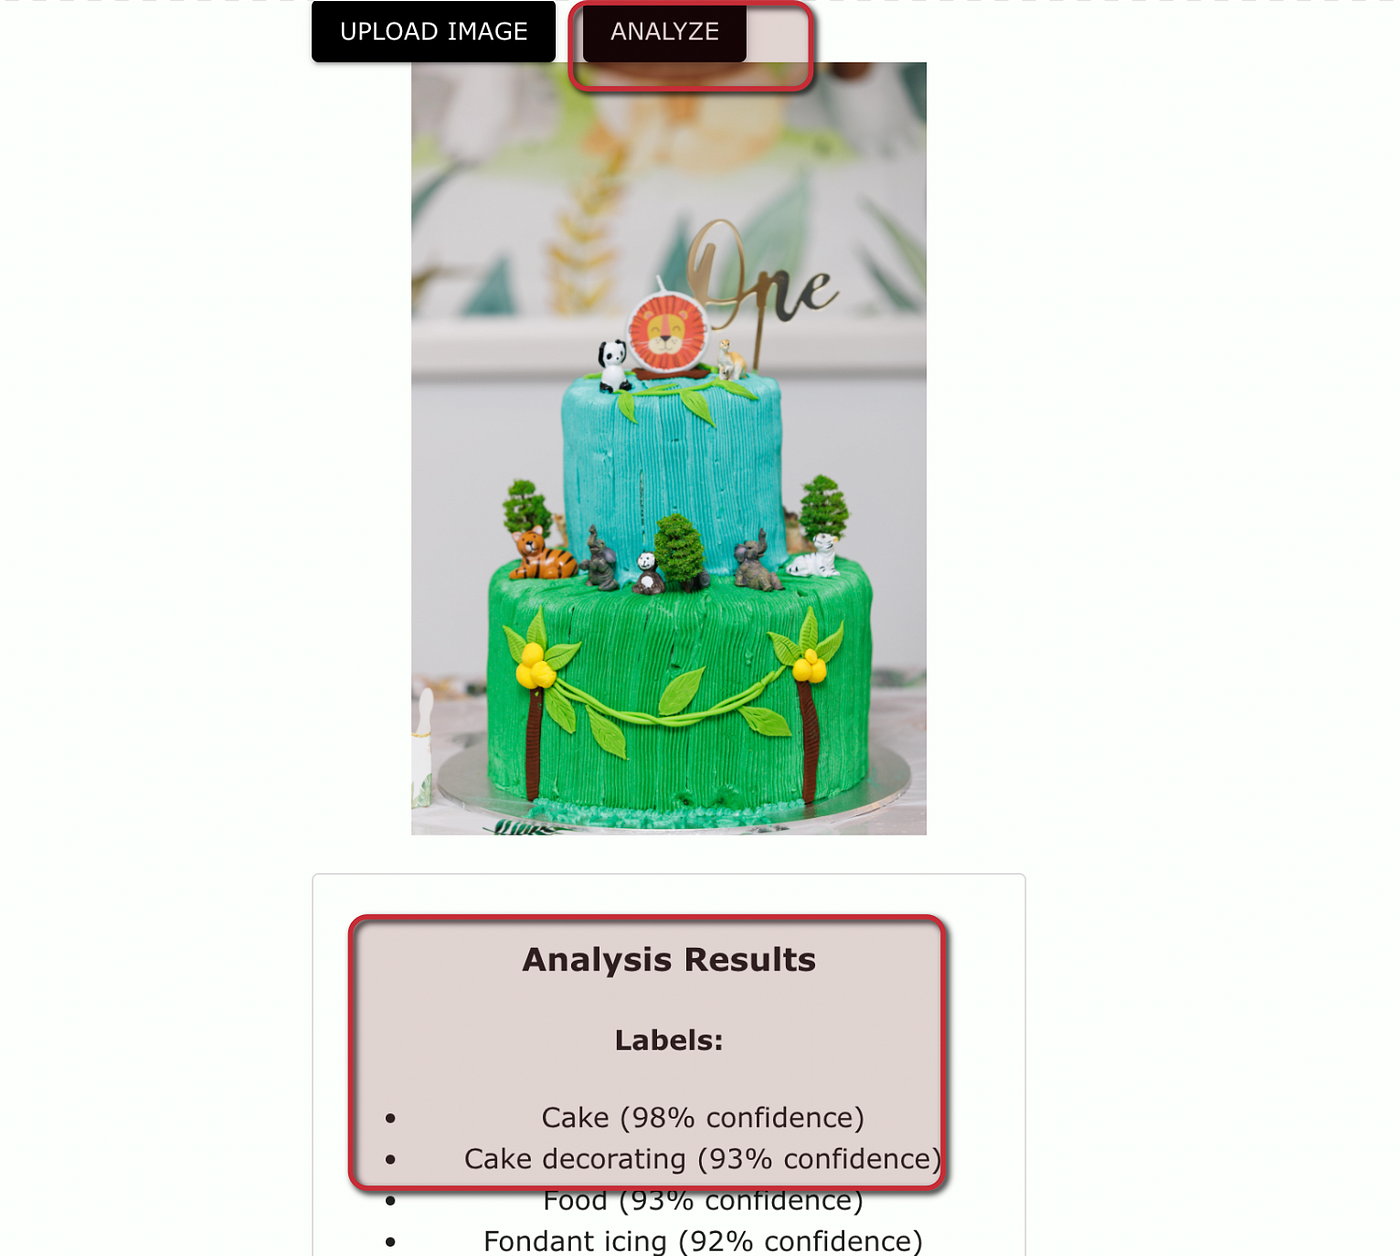
Hurray, congratulations — now you successfully understand how to leverage LLM to generate a simple react app that can have powerful AI features.
Note: Make sure you delete your API key from the Google Cloud account for misuse.
