Understanding of Pega Constellation Development and Usage — Docker and Kubernetes
Understanding of Pega Constellation Development and Usage — Docker and Kubernetes
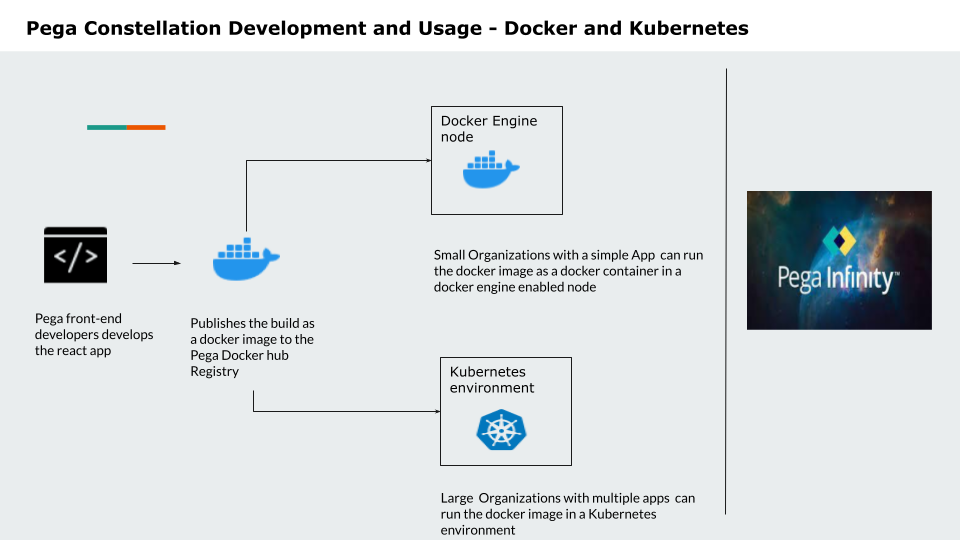
In this post, let’s understand Pega Constellation Development and deployment pattern usage in Docker and Kubernetes. Pega recommends leveraging the Pega Constellation for all the new applications from PEGA 8.8 version onwards. It is a major leap in CX. Constellation uses Single Page Architecture. The browser will orchestrate the react component refreshes. This pattern makes the network traffic lite and provides a better user experience. The similar architectural design of popular organisations like — Facebook, LinkedIn, Netflix etc… Constellation segregates the Data Layer and Presentation Layer.
PEGA front-end developers develop the React app. They publish the react app as a docker image to the Pega Docker Hub Registry. Small organisations can run this docker image as a container in the docker engine-enabled node. Large organisations with multiple apps can run the docker image in a Kubernetes environment. This react app communicates with the PEGA Infinity engine using DX API V2.
As part of the PEGA Development — The presentation layer is the list of pre-defined templates used to configure in the App Studio. The data layer is the configuration of Views linking to the templates in the App Studio. DX API V2 response structure segregates the Data and Presentation layer contents as two different JSON elements. The conventional way of developing the app using the section and harness rules will get decommissioned. The main disadvantage of the conventional way is network traffic heavy and expensive calls between the browser and the back-end servers.
To understand the Pega Constellation design and deployment pattern — Let’s deploy a simple react app as a single docker container and also to the Kubernetes cluster.
Pre-requisites
Note: Here showing the example in a docker engine running on a Mac.
Step 1: Get the React App from the Git hub Repository
Using the below command download the react todo app.
git clone https://github.com/sunnyclinches44/react-todo-app.git
Navigate to the respective folder in the terminal and the below command to install all required packages.
npm run install
Verify the downloaded folder in the VS Code
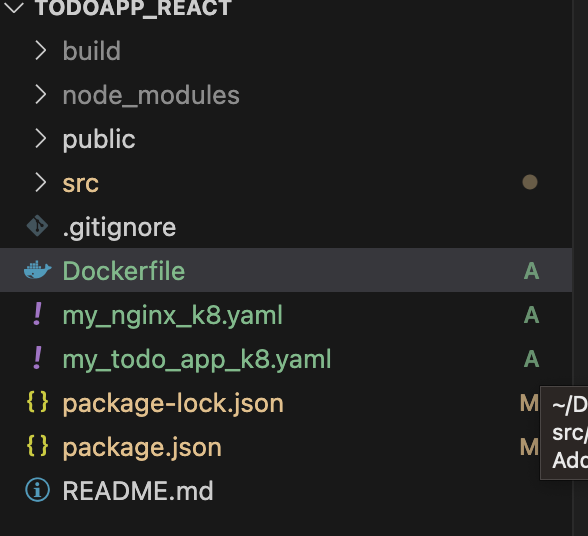
Run the react app locally first to see the installation
npm run start
After the successful start — You can verify the app running in the localhost 3000 port
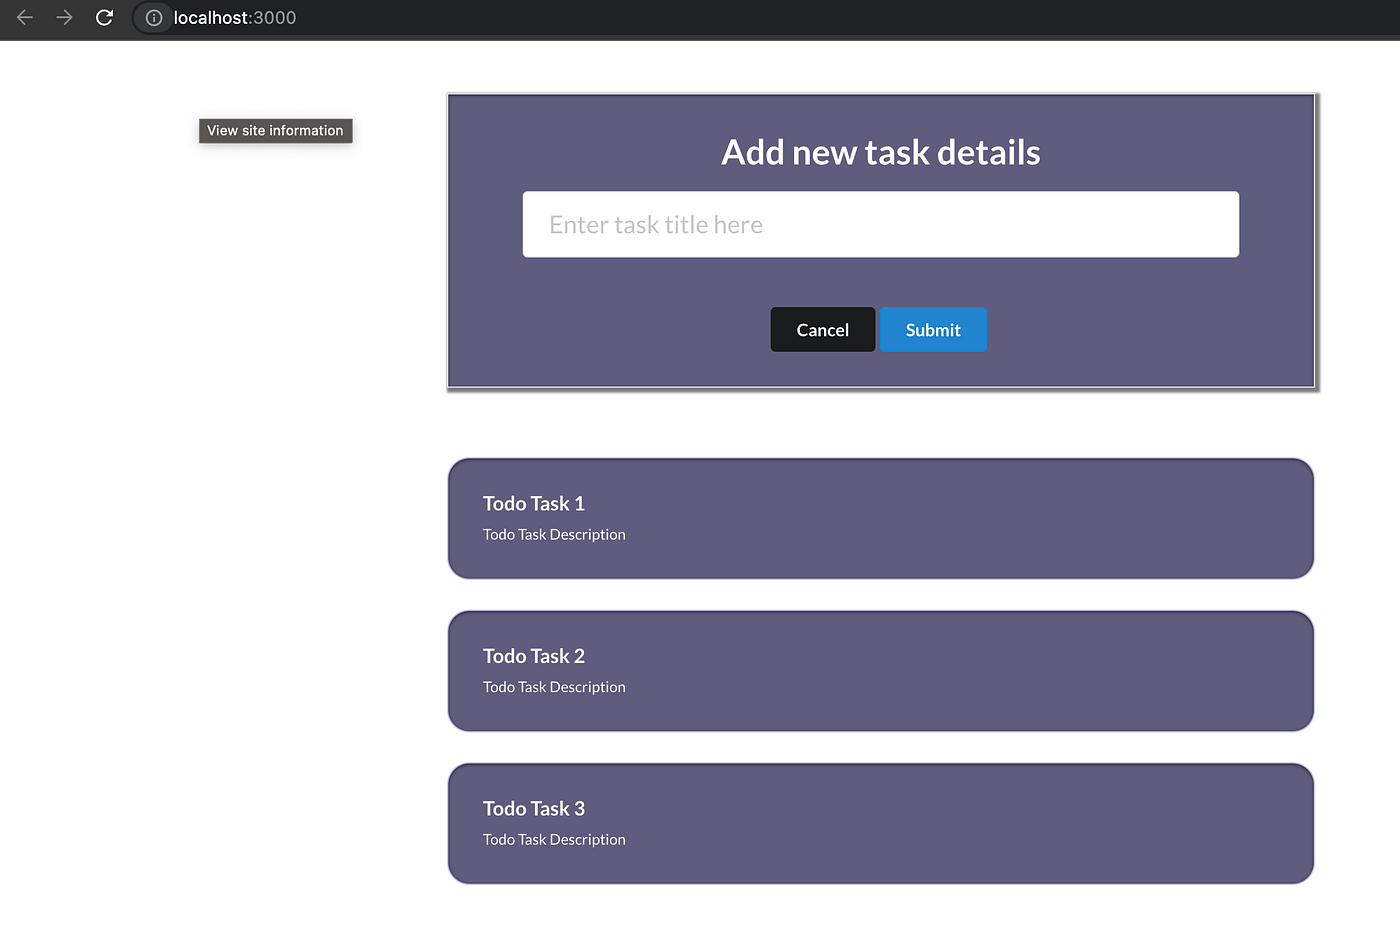
Step 2: Dockerize the application and deploy a single container
Dockerize the application
- Build the React app.
npm run build
The above command after a successful build, creates the pointed build folder.
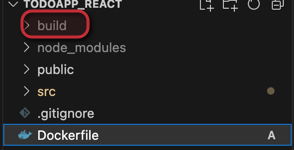
Create a file with the name Dockerfile and copy the below code.
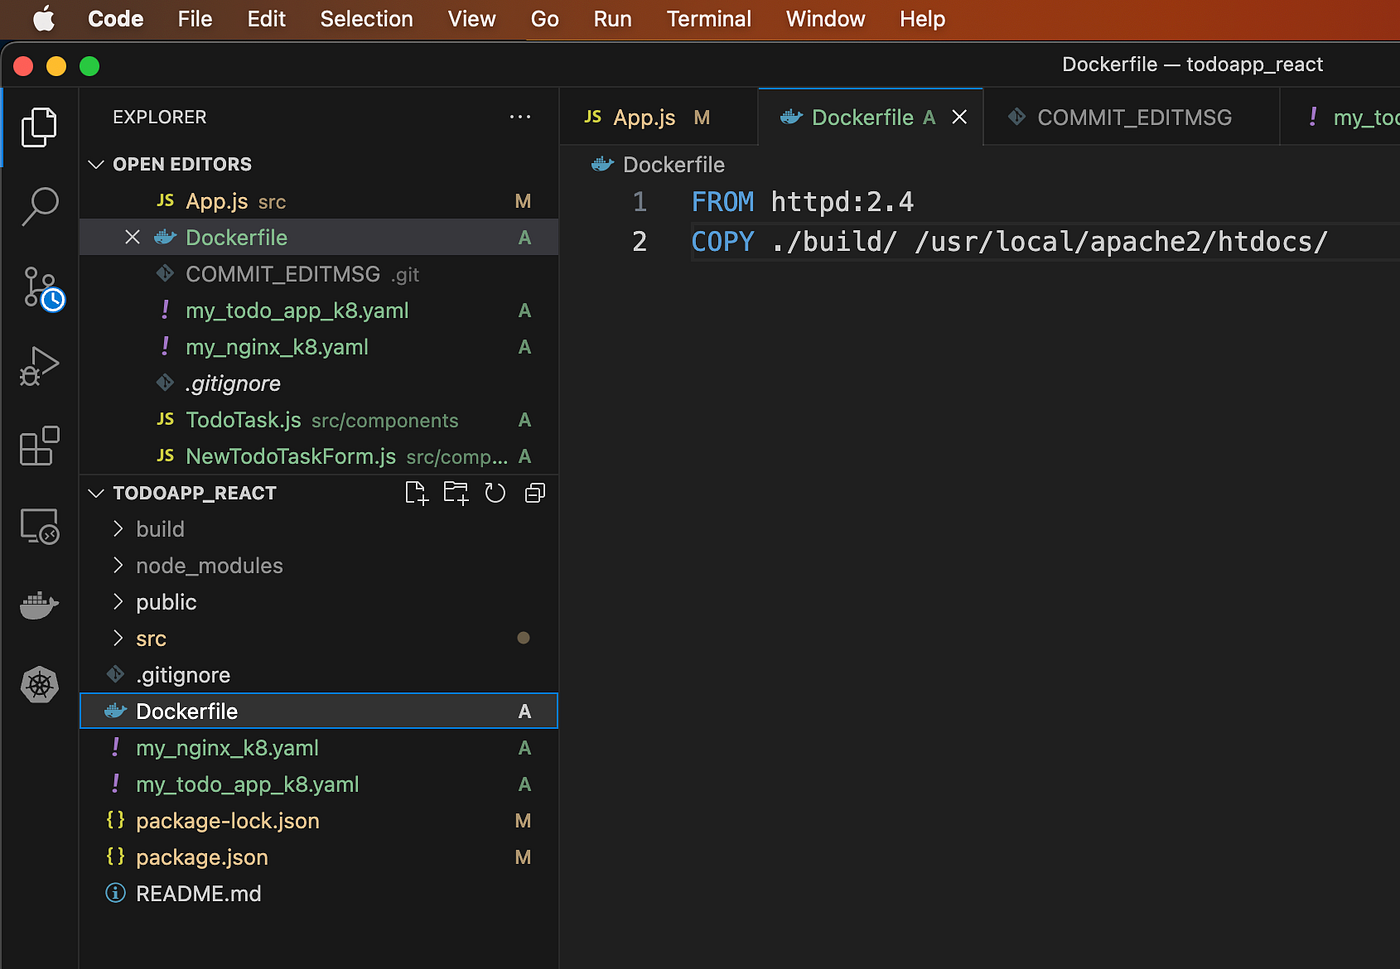
The above code leverages the official Apache tomcat docker image [httpd] and copies the build files into it. The output is that we have the custom docker image for our app that runs in the Tomcat webserver.
Execute the below command to generate the docker image. It generates the docker image my_todo_app locally. Verify the same in the docker desktop app.
docker build -t my_todo_app .
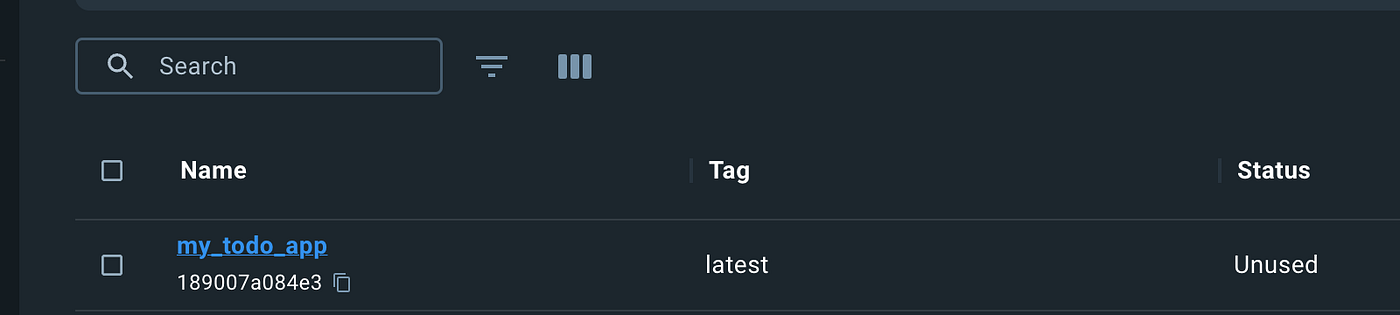
Note: Now we can use this docker image anywhere [Local, AWS Cloud, Google Cloud, Azure Cloud] as a standard app running a tomcat webserver rendering out todo react app.
Deploy a single container
Execute the below command to run the app as a single docker container with the output port 8080.
docker run -dit --name my_todo_app -p 8080:80 my_todo_app
Now you can see the running container in the Docker desktop.

In the browser enter http://localhost:8080 to invoke the app running inside a docker container.
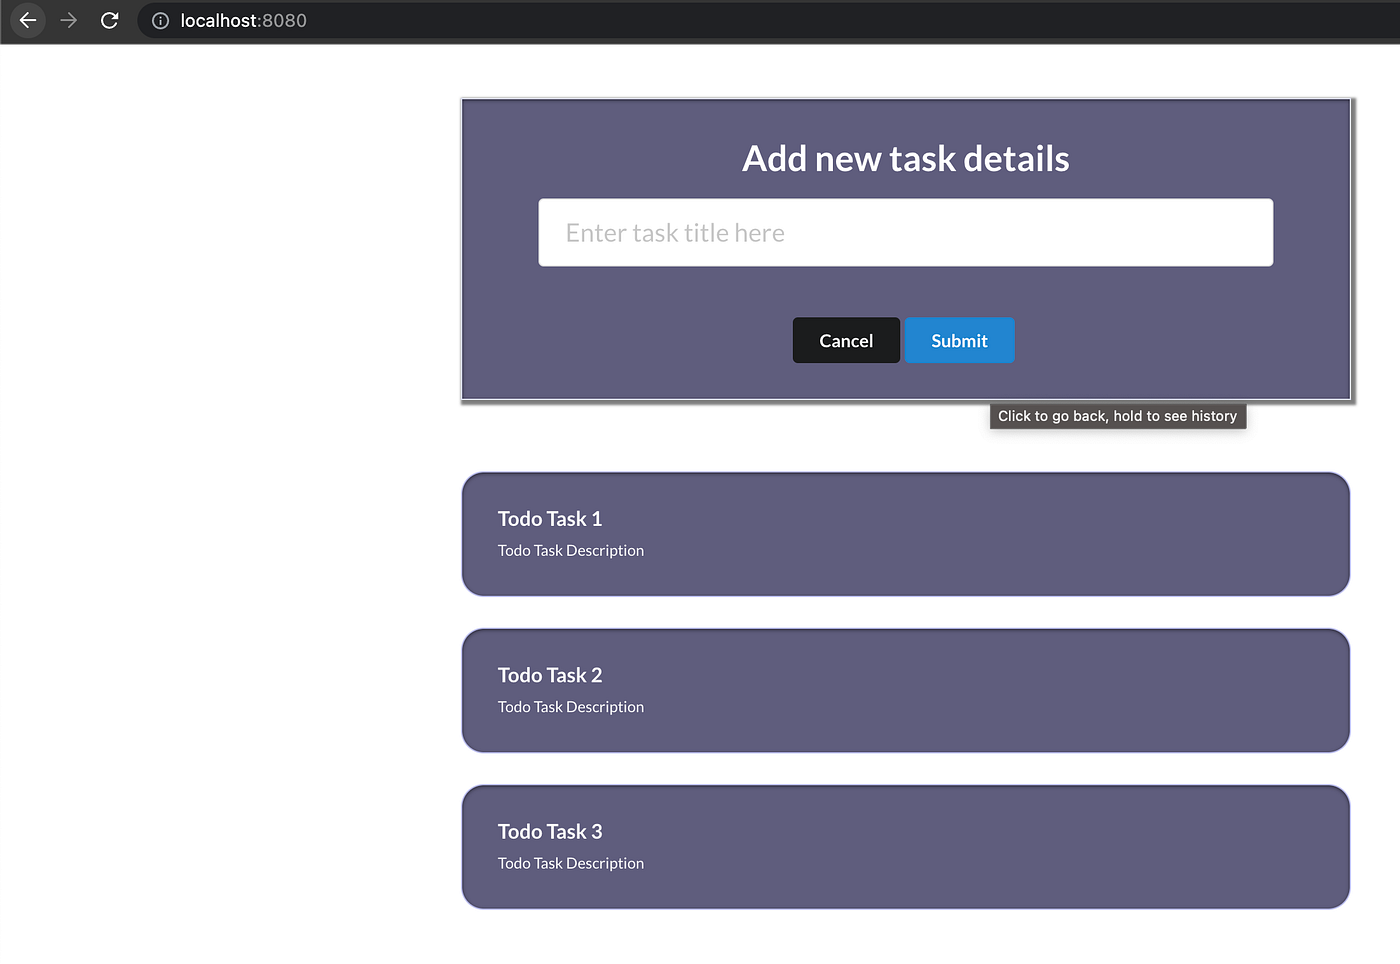
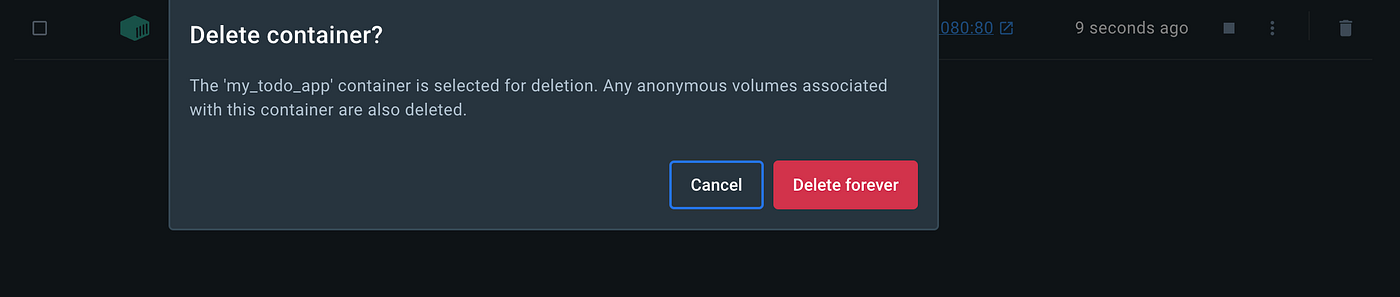
Note: Wohooooo — Now to understand the difference between the single docker container and the Kubernetes cluster pods — delete the docker container from the docker desktop.
Step 3: Deploy the image using Kubernetes
Kubernetes is a popular open-source container orchestration tool. Large organisations that have multiple apps and with a high rate of changes leverage Kubernetes for container orchestration. It provides high availability and scalability. Kubernetes deploys the containers in the Pods.
Enable the Kubernetes single-node cluster in the docker desktop.
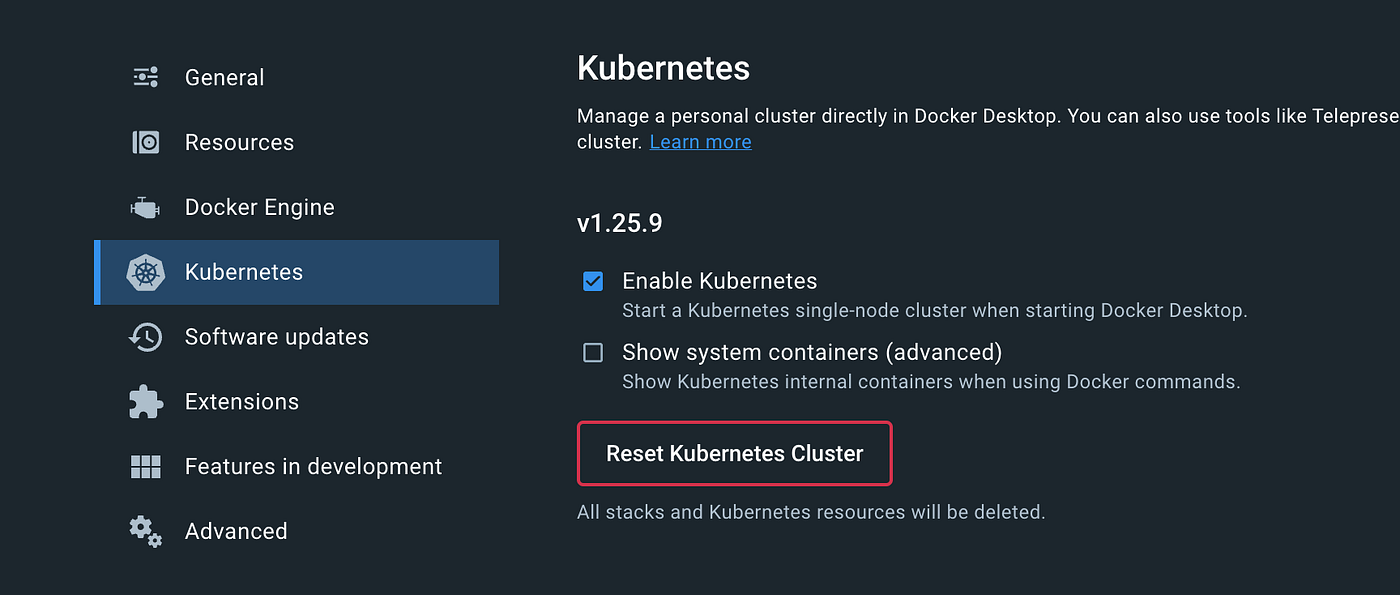
Create a file “my_todo_app_k8.yaml” and copy the following code to create a Kubernetes deployment with a single pod and a NodePort service.
apiVersion: apps/v1
kind: Deployment
metadata:
name: todoapp-deployment
spec:
replicas: 1
selector:
matchLabels:
app: todoapp
template:
metadata:
labels:
app: todoapp
spec:
containers:
- name: todoappcontainer
image: my_todo_app
imagePullPolicy: Never
ports:
- containerPort: 80
apiVersion: v1
kind: Service
metadata:
name: todoapp-service
spec:
type: NodePort
selector:
app: todoapp
ports:
- port: 80
targetPort: 80
nodePort: 30001
Execute the above file using the following command
kubectl create -f my_todo_app_k8.yaml
Now verify the service endpoint status using the following command
kubectl get ep
In the browser enter http://localhost:30001 to invoke the app running inside a Kubernetes pod container.
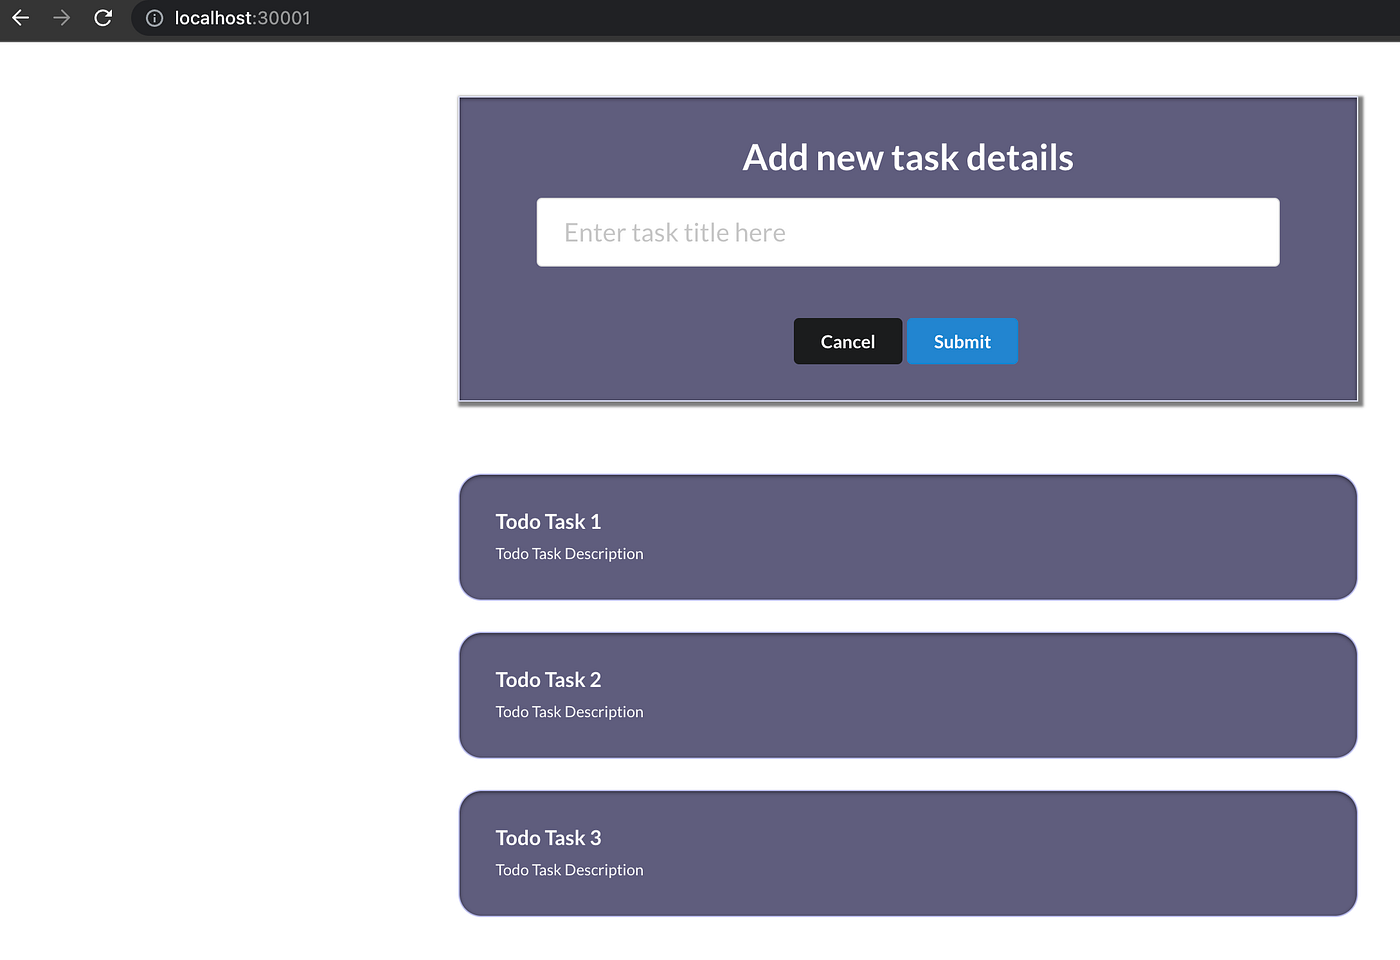
Wohoooooooooo — Congratulations :) , now you successfully understood the Pega Constellation Development and Deployment pattern to Docker and Kubernetes.