How to deploy a Tensorflow JS predictive model as a web app using google cloud run?
How to deploy a Tensorflow JS predictive model as a web app using google cloud run?
In this particular post, we will learn to deploy a Tensorflow JS predictive model as a web app using google cloud run. Tensorflow JS executes the ML predictive models in the client browser. It helps to reduce the Server API calls and provides a real-time user experience. Web and mobile apps can leverage this Tensorflow JS for the low resource-intensive model executions.
Pre-requisites
- Set-up google cloud account
- Install node
Step 1: Download the TensorflowJS Model
Refer to the below link on how to generate a Tensorflow JS predictive model
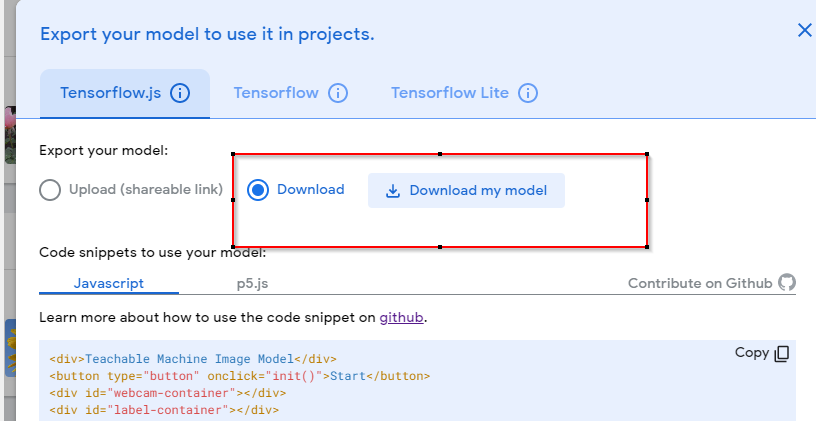
Download the generated model as below into a folder
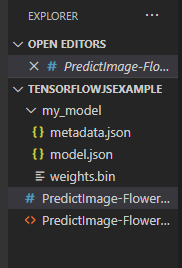
Note: Your generated model folder contains — metadata.json, model.json, weights.bin files
Step 2: Develop a simple HTML page and CSS
A simple HTML page to upload an image and predict using the Tensorflow JS library. The below HTML code is self-explanatory.
Note: We have imported the TensorflowJS and TeachableMachine JS libraries
Tensorflow JS Web App Example
A simple CSS file for styling
body {
background-color: lightblue;
}
h1 {
color: black;
text-align: center;
}
.custom-file-upload {
border: 1px solid #ccc;
display: inline-block;
padding: 6px 12px;
cursor: pointer;
}
.prediction-results {
border: 1px solid #ccc;
font-weight: bold;
}
Your folder structure looks as below
Step 3: Initialize the Node Express application
In the same folder, initialize the node application using the below command
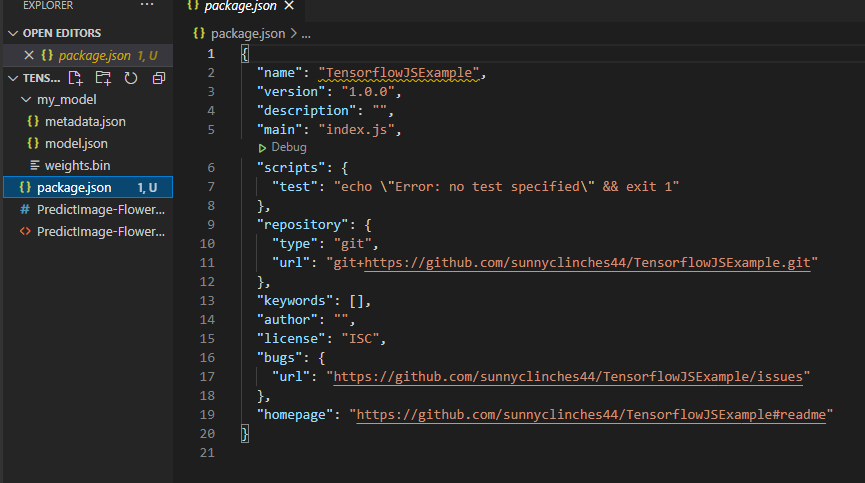
npm init -y
The above command will create the package.json file in the folder
Install the node express
npm i express
Create the index.js file in the folder and copy the following code. It is self-explanatory
// index.js
/**
- Required External Modules
*/
const express = require("express");
const path = require('path');
/**
- App Variables
*/
const app = express();
const port = process.env.PORT || "3000";
/**
- Routes Definitions
*/
app.get("/", (req, res) => {
res.sendFile(path.join(__dirname +'/PredictImage-FlowerDataSet.html'));
});
/**
- Server Activation
*/
app.use(express.static(__dirname + '/'));
app.listen(port, () => {
console.log(Listening to requests on http://localhost:${port});
});
Step 4: Dockerize the application
- Create the docker file as below
FROM node:14
Create app directory
WORKDIR /usr/src/app
Install app dependencies
A wildcard is used to ensure both package.json and package-lock.json are copied
COPY package*.json ./
RUN npm install
Bundle app source
COPY . .
EXPOSE 8080
CMD ["node", "index.js"]
- Create the docker ignore file
.git
Dockerfile
.DS_Store
.gitignore
.dockerignore
Environments
node_modules/
Step 5: Deploy to Google Cloud Run
1. Create the “deploy.sh” file with the following commands
The first command is to create the container image in the Google Container Registry and the next is to deploy the container.
Note: Updated the caps — PROJECT_ID and the REGION with your cloud project details
# build & push container image
gcloud builds submit --tag gcr.io/PROJECT_ID/tensorflowjsexample
# build the cloud run from the container image
gcloud run deploy tensorflowjsexample --image gcr.io/PROJECT_ID/tensorflowjsexample --region REGION --platform managed --allow-unauthenticated
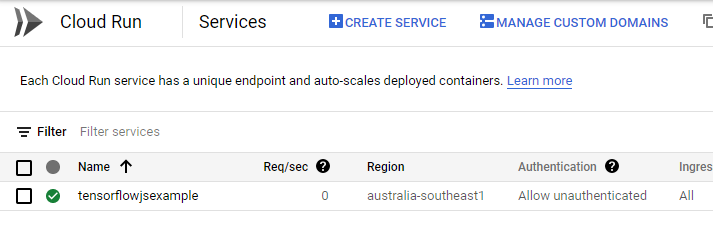
After successful execution, you can verify the Google cloud run service as below in the gcloud console
Step 6: Test the deployed app
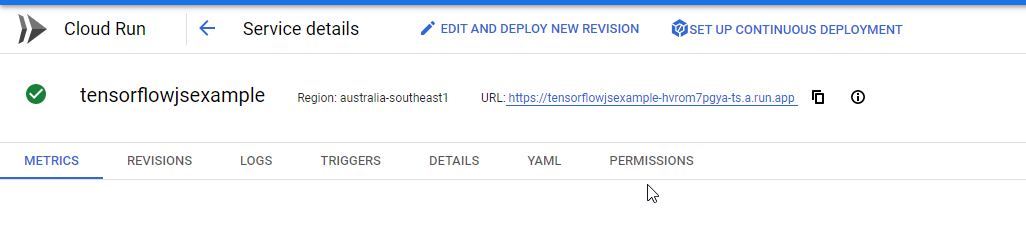
Click on the cloud run service and see the URL
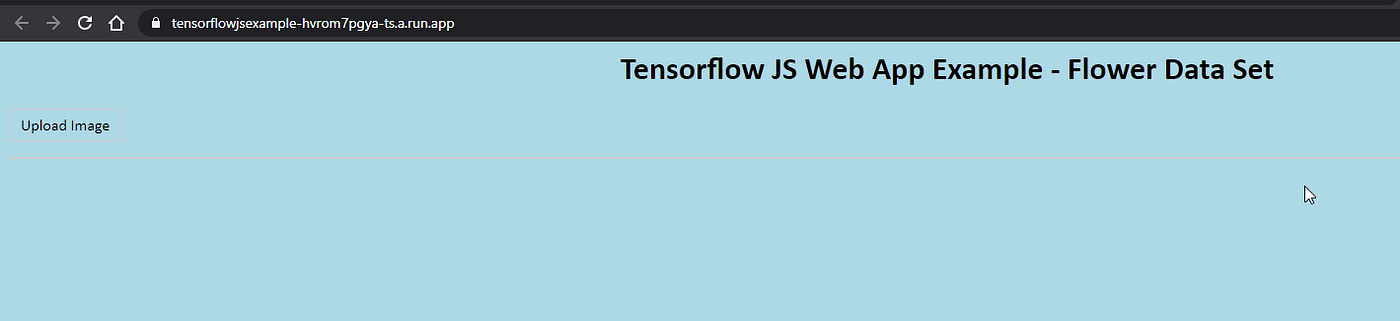
Click on the URL — You will see the web app below
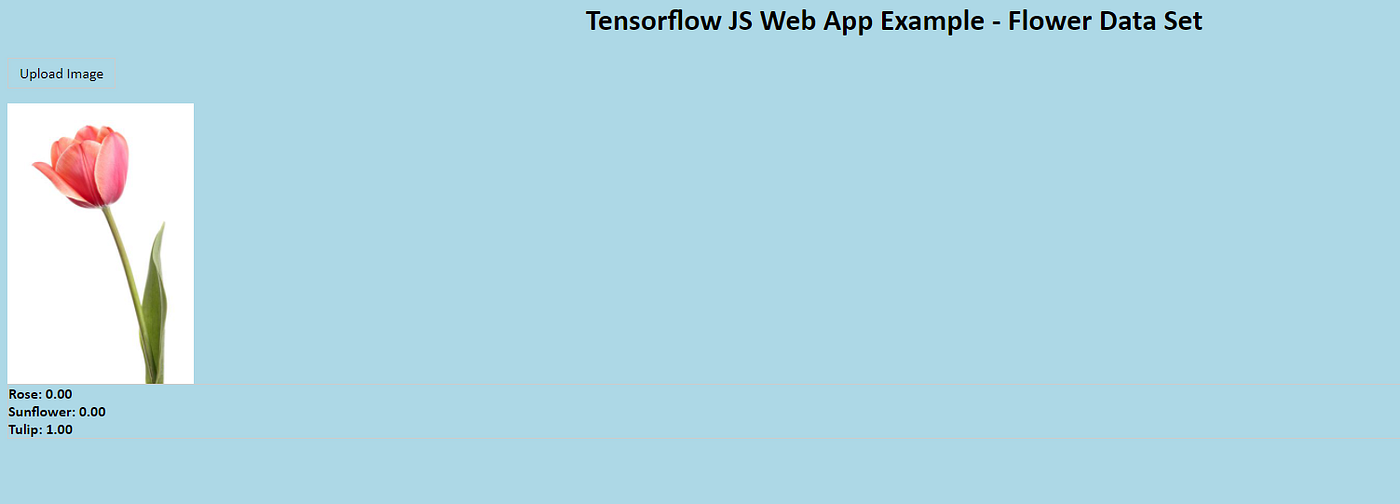
Upload any flower image and see the prediction results. In the below example, I have uploaded a Tulip flower and see the prediction results.
Congratulations :) — Wohooo. Now you successfully learned to deploy a Tensorflow JS web app using google cloud run.