Deploy a simple flask application in Google Cloud Run
Deploy a simple flask application in Google Cloud Run
In this particular post, we will learn to create a simple currency converter application. The technologies used in this application are as follows:
- Python [Packages Flask and CurrencyConverter]
- Docker [To package the application as a docker image]
- Gcloud shell [To interact with gcloud services]
- Container Registry and Cloud run
This application is deployed to Google Cloud run as a website for the public access.
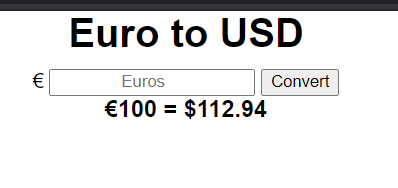
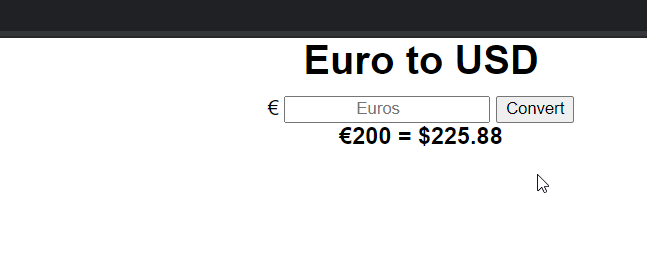
Application looks as below: The currency converter from Euro to USD
Create the Python Flask Appication
Step 1: Initialize the Python project using PyCharm IDE
PyCharm is a useful IDE tool for the Python project development.
Refer to the below website on the download instructions
Download PyCharm: Python IDE for Professional Developers by JetBrains
_We've noticed that JavaScript is disabled in your web browser. Please enable JavaScript to take advantage of…_www.jetbrains.com
Step 2: Create a new Python project using the PyCharm
Create the new project [CurrencyConverter] in PyCharm IDE and also create the Flask application-specific folders.
static: To store the static assets of the application like CSS, js files
templates: To store the HTML templates of the application
The folder structure looks as below after this particular step
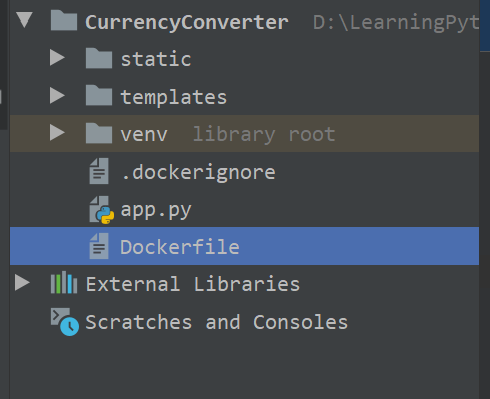 CurrencyConverter Folder Structure in PyCharm
Step 3: Install the Python packages
For this particular application, the following packages are used:
Refer to the below documentation on the package usage
Flask: A webserver package
Flask
_Flask is a lightweight WSGI web application framework. It is designed to make getting started quick and easy, with the…_pypi.org
CurrencyConverter: Euro based currency conversion package
CurrencyConverter
_This is a currency converter that uses historical rates against a reference currency (Euro)._pypi.org
Install the packages using pip command in the terminal window
pip install flask currencyconverter
Step 4: Create the HTML form
In the templates folder, create the simple HTML file [form.html] as below
Euro to USD
€{{euros}} = ${{usd}}
{% endif %}Step 5: Create the CSS file
In the static folder, create the simple css file [currencyconverter.css] as below
html * {
font-family: Arial, Helvetica, sans-serif;
max-width: 500px;
margin:0 auto;
text-align: center
}
#output {
padding-top: 10px;
display: inline-block;
}
Step 6: Create the flask application python file
Create the app.py file with the following code.
Note: It is self-explanatory and you can python material for the additional info
from flask import Flask, render_template, request
from currency_converter import CurrencyConverter
app = Flask(name)
@app.route("/")
def form():
return render_template("form.html")
@app.route("/", methods=["POST"])
def my_form_post():
c = CurrencyConverter();
euros = request.form["euros"]
usd = round(c.convert(euros, "EUR", "USD"), 2)
return render_template("form.html",
                       euros=euros,
                       usd=usd)
if name == "main":
app.run(debug=True)
Note: Execute the flask application in the localhost. if there are any errors then resolve it before progressing to the next steps.
Dockerize the Python Flask application
Step 1: Create the docker file [Dockerfile]
Note: The commands have usage comments. Dockerfile will not have specific file extensions
FROM python:3.8-slim
Use the python latest image
COPY . ./
Copy the current folder content into the docker image
RUN pip install flask gunicorn currencyconverter
Install the required packages of the application
CMD gunicorn --bind :$PORT app:app
Bind the port and refer to the app.py app
To learn more about the docker files, refer to the website documentation
Empowering App Development for Developers | Docker
_Docker offers free plans for individual developers and teams just starting out. We also have new monthly plans for…_www.docker.com
Step 2: Create the dockerignore file
Dockerignore file [.dockerignore] is useful to ignore the folder contents as part of the docker image
.git
Dockerfile
.DS_Store
.gitignore
.dockerignore
PyCharm specific folder
.idea
Environments
.env
.venv
env/
venv/
ENV/
Deploying to Google Cloud Run
Step 1: Set-up google cloud account and create a project
Refer to the google cloud documentation on the cloud account and respective project creation
Cloud Computing Services | Google Cloud
_Google a leader in Gartner Magic Quadrant for Cloud Infrastructure and Platform Services. Google a leader in Gartner…_cloud.google.com
Step 2: Install Google Cloud SDK Shell
Refer to the below documentation and install the Google Cloud SDK
Installing Google Cloud SDK | Cloud SDK Documentation
_Send feedback This page contains instructions for choosing and maintaining a Cloud SDK installation. If you are behind…_cloud.google.com
Step 3: Complete the google login via google cloud SDK Shell
Note: if you face any login issues then refer to the above google cloud sdk documentation resources
Step 4: Create a docker image in the Google Container Registry
Navigate to the “currencyconverter” project folder in the SDK shell
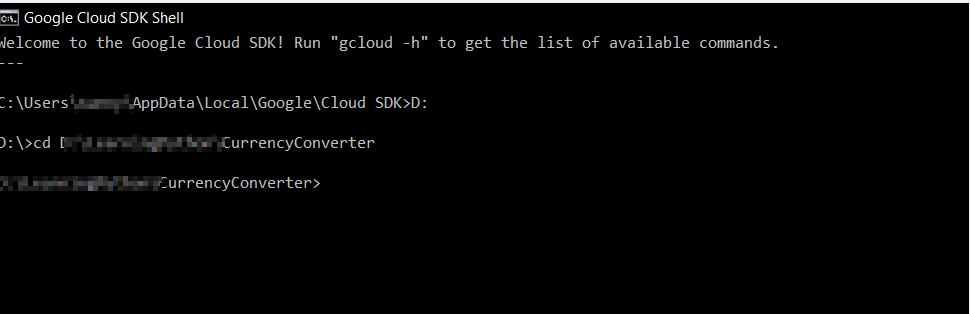
Use Google builds command to create the docker image in the container registry
gcloud builds submit --tag gcr.io/PROJECT_ID/euro-to-usd
Note: You can get the project id from list of project details using the following command
gcloud projects list
Step 5: Create the Cloud Run service from the docker image
Use the below command to create the Cloud Run Service
gcloud run deploy --image gcr.io/PROJECT_ID/euro-to-usd --platform managed
As part of this command, execution select the following mandatory options
Region: In which region, you want to deploy this cloud run service
Authentication: Select the option as a public facing website
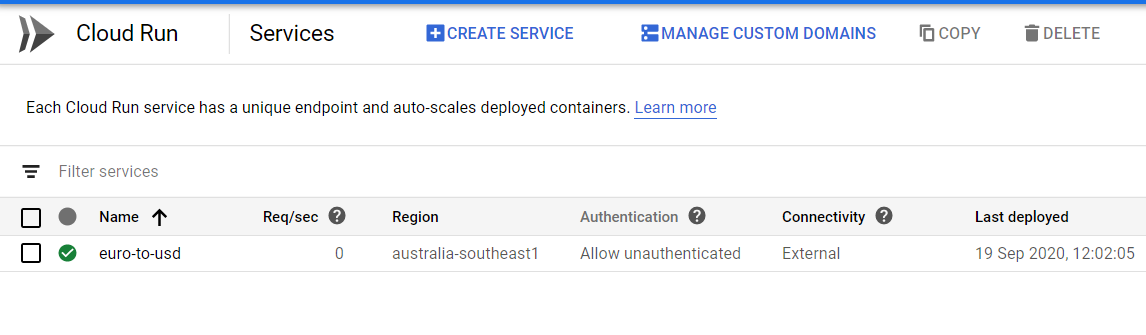
Step 6: Verify the deployed cloud run service in the cloud console
Navigate to the cloud run in the google cloud console and you will see a running service
Test the deployed application
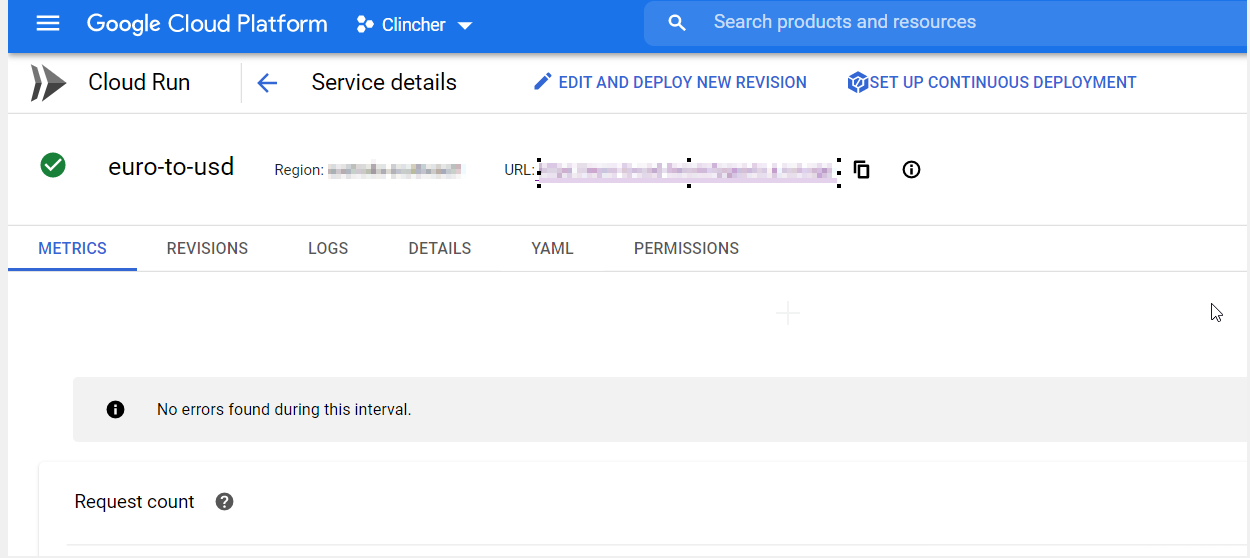
Step 1: Click on the deployed Cloud Run service to see the public URL
Step 2: Test the application via the URL
Congratulations, now you created a stateless simple serverless application using google cloud run service.
Once you start exploring, there is a lot of learning involved in this simple app. The credit for this post goes to the below video contributers. I learned a lot in this app development and the powerful capabilities of the Google Cloud Run Service.