Deploy a Serverless RESTFUL API using Google Cloud Run and Cloud Firestore
Deploy a Serverless RESTFUL API using Google Cloud Run and Cloud Firestore
 Google Cloud Run Microservices for a Firestore Database
In this particular post, we will learn to deploy a highly-available, cost-effective Serverless RESTFUL API application using the Google Cloud Platform using Cloud Run and Cloud Firestore services.
The application is to serve the tech-bytes. Using the RESTFUL API, the consumers should be able to perform the CRUD (Create, Read, Update and Delete) operations.
Following technologies and systems are used:
- Python — Flask App: Webserver to serve the RESTFUL API
- Docker — Containerization of the App
- Google Cloud Run: Serverless Containerized Platform
- Google Cloud Firestore: Realtime No-SQL Serverless Database
- Postman: To test the deployed RESTFUL API
Set-up Firestore Database
Step 1: Create the Firestore database
Refer to the below Quickstart link on the Firestore database set-up
Get started with Cloud Firestore | Firebase
_Google is committed to advancing racial equity for Black communities. See how. Send feedback This quickstart shows you…_firebase.google.com
Step 2: Get the project firebase service account key JSON file
Navigate to the project in the firebase console and download the service account key in JSON.
Click on the project settings
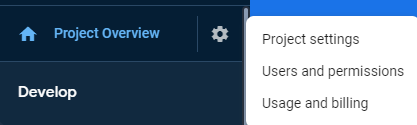
Click on the service accounts and download the new private key

Step 2: Create documents in the Firestore database
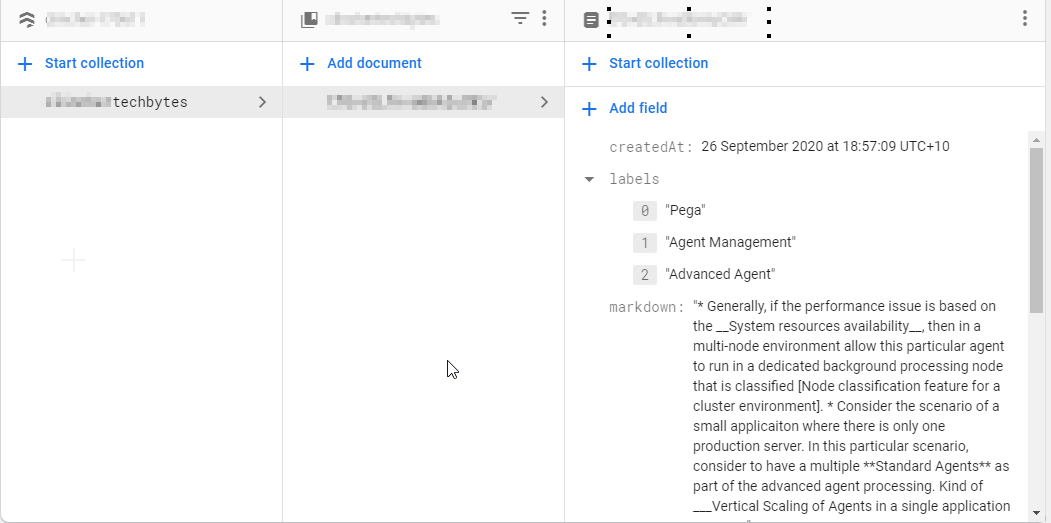
Firestore is a realtime No-SQL database with a concept of a collection of documents.
Create a collection named tech-bytes and create a document tech-byte.
The sample looks like below:
Note: Not specific in the fields. Use your custom JSON Data model to store the Tech Byte
Develop a Python Flask Application
Step 1: Set-up Python project using PyCharm IDE
PyCharm is a useful IDE tool for Python project development.
Refer to the below website on the download instructions
Download PyCharm: Python IDE for Professional Developers by JetBrains
_We've noticed that JavaScript is disabled in your web browser. Please enable JavaScript to take advantage of…_www.jetbrains.com
Step 2: Create a new project using PyCharm
Create the new project [TechBytes] in PyCharm IDE.
Step 3: Install the Python packages
For this particular application, the following packages are used:
Refer to the below documentation on the package usage
Flask: A webserver package
Flask
_Flask is a lightweight WSGI web application framework. It is designed to make getting started quick and easy, with the…_pypi.org
Firebase-admin: This package is used to access the resources of the Firebase
firebase-admin
_The Firebase Admin Python SDK enables server-side (backend) Python developers to integrate Firebase into their services…_pypi.org
Install the packages using pip command in the terminal window
pip install flask firebase-admin
Note: Create the requirements.txt with the above-required pip packages
Step 4: Develop the CRUD Operations
Place firebase service account key JSON file in the working directory
Copy the following code in the “app.py” file.
Note: Update the COLLECTION_NAME as created in the Firestore database. Verify the KEY.json file
Required imports
import os
from flask import Flask, request, jsonify
from firebase_admin import credentials, firestore, initialize_app
#Initialize Flask app
app = Flask(name)
#Initialize Firestore DB
cred = credentials.Certificate('KEY.json')
default_app = initialize_app(cred)
db = firestore.client()
techbytes_ref = db.collection('COLLECTION_NAME')
@app.route('/add', methods=['POST'])
def create():
"""
create(): Add document to Firestore collection with request body.
Ensure you pass the custom ID as part of the JSON body in post request,
e.g. json={'id': 1, 'title': 'tech byte title'}
"""
try:
id = request.json['id']
techbytes_ref.document(id).set(request.json)
return jsonify({"success": True}), 200
except Exception as e:
return f"An Error Occurred: {e}"
@app.route('/list', methods=['GET'])
def read():
"""
read(): Fetches documents from Firestore collections as JSON.
techbytes: return document that matches query ID.
all_techbytes: Return all documents.
"""
try:
# Check if ID was passed to URL query
techbyte_id = request.args.get('id')
if techbyte_id:
techbyte = techbytes_ref.document(techbyte_id).get()
return jsonify(techbyte.to_dict()), 200
else:
all_techbytes = [doc.to_dict() for doc in techbytes_ref.stream()]
return jsonify(all_techbytes), 200
except Exception as e:
return f"An error Occured: {e}"
@app.route('/update', methods=['POST', 'PUT'])
def update():
""""
update(): Update document in Firestore collection with request body
Ensure you pass the custom ID as part of the JSON body in post request,
e.g. json={'id':'1', 'title':'Tech byte post'}
"""
try:
id = request.json['id']
techbytes_ref.document(id).update(request.json)
return jsonify({'success':True}), 200
except Exception as e:
return f"An Error Occurred: {e}"
@app.route('/delete', methods=['DELETE'])
def delete():
""""
delete(): Delete a document from the Firestore collection
Check for ID in the URL
"""
try:
id = request.args.get('id')
techbytes_ref.document(id).delete()
return jsonify({'success':True}), 200
except Exception as e:
return f"An Error Occurred: {e}"
port = int(os.environ.get('PORT', 8080))
if name == 'main':
app.run(threaded=True, host='0.0.0.0', port=port)
Dockerize the Application
Step 1: Create the docker file [Dockerfile]
Note: The commands have usage comments. Dockerfile will not have specific file extensions
Dockerfile
FROM python:3.8-slim
Python latest version docker image
RUN apt-get update -y
Update the packages of the container
RUN apt-get install -y python-pip python-dev build-essential
Install the required essentials in the container
COPY . /app
Copy the current directory into the app folder in the container
WORKDIR /app
Change the working directory to app folder
RUN pip install -r requirements.txt
Install the requirements present in the requirements.txt file
ENTRYPOINT ["python"]
Specify the entry point
CMD ["app.py"]
Command file to execute
Step 2: Create the dockerignore file
Dockerignore file [.dockerignore] is useful to ignore the folder contents as part of the docker image
.git
Dockerfile
.DS_Store
.gitignore
.dockerignore
PyCharm specific folder
.idea
Environments
.env
.venv
env/
venv/
ENV/
Deploy to Google Cloud
Step 1: Create the “deploy.sh” file with the following commands
The first command is to create the container image in the Google Container Registry.
# build & push container image
gcloud builds submit --tag gcr.io/PROJECT_ID/techbytes-api
The second command is to create the Google Cloud Run service from the deployed Google Container Registry Image.
# build the cloud run from the container image
gcloud run deploy techbytes-api --image gcr.io/PROJECT_ID/techbytes-api --region REGION --platform managed --allow-unauthenticated
Step 2: Verify the deployed assets in the Google Cloud Console
Verify the image in the Google Container Registry
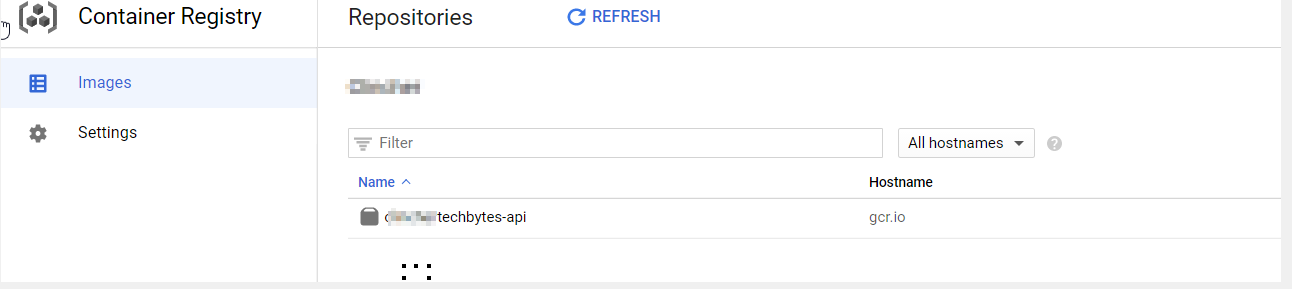
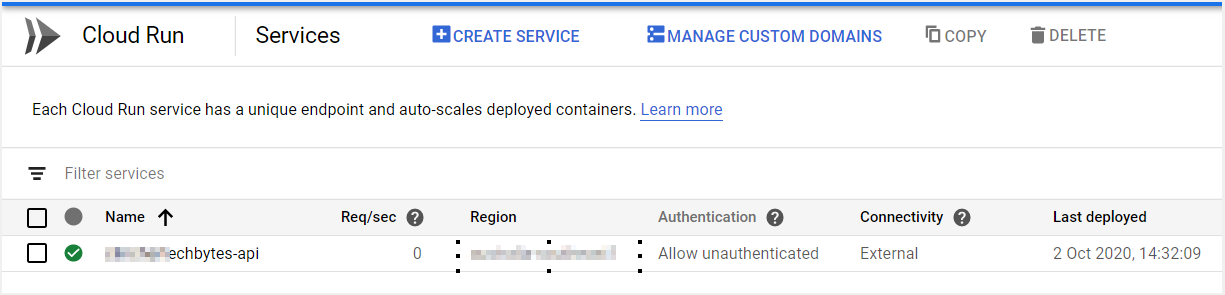
Verify the created service in the Google Cloud Run
Test the deployed RESTFUL API
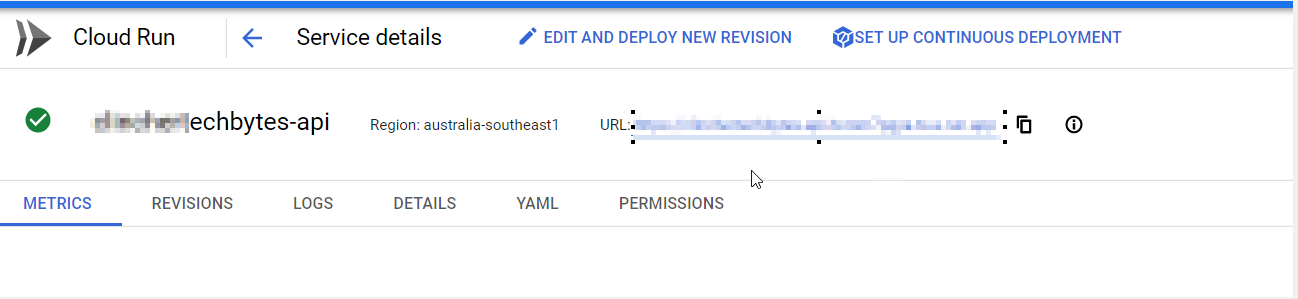
Step 1: Click on the deployed cloud run service to get the endpoint URL
Step 2: Open the Postman to test the GET method
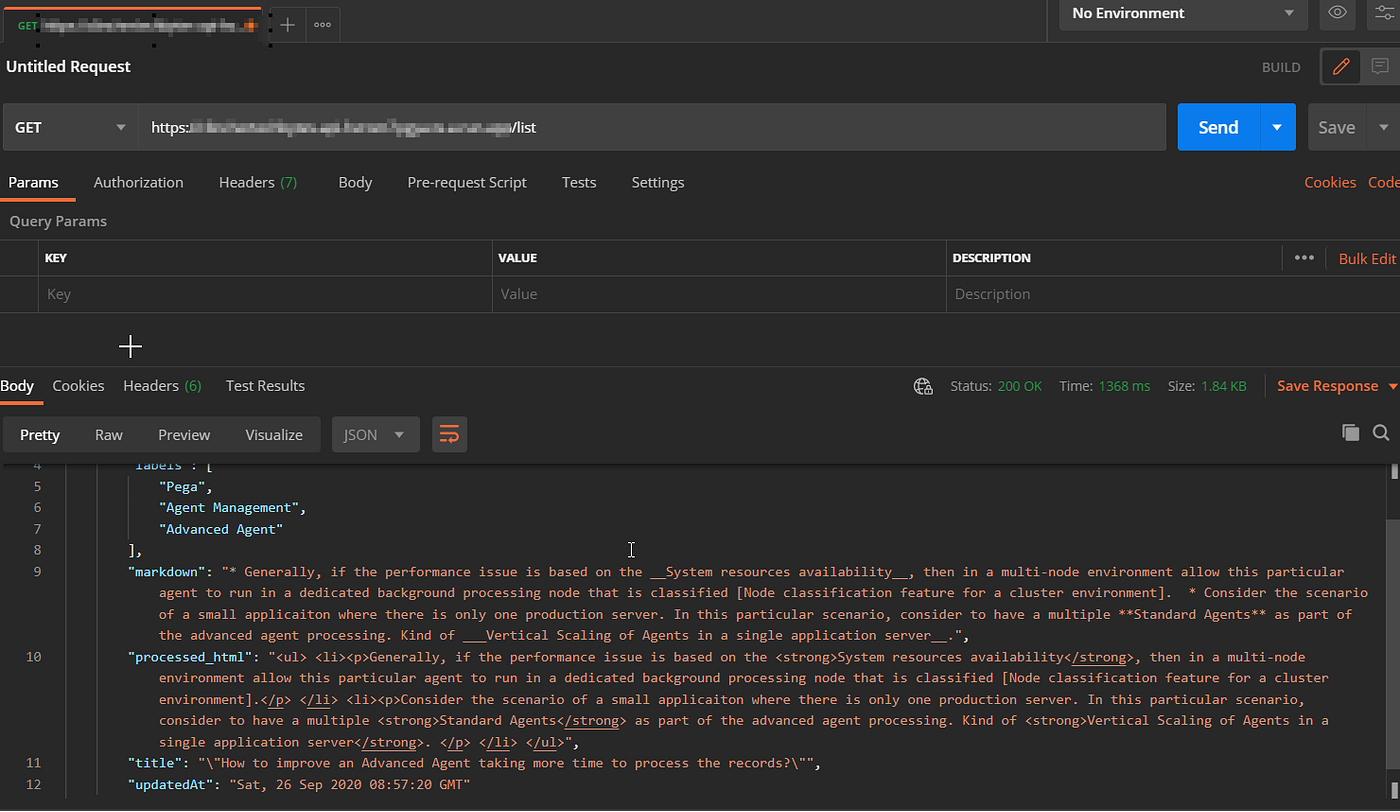
Note: Similarly, we can test the remaining methods of the deployed RESTFUL API
Congratulations, now you successfully deployed a highly-available, cost-effective RESTFUL API using the Serverless Google Cloud solutions that includes Cloud Run and Realtime database Cloud Firestore.